Nuneaton Tile Cleaning

Nuneaton Tile Cleaning

Welcome to my Work History archive where you will find examples of the cleaning and renovation of tiles carried out in Nuneaton.

Tar-Covered Victorian Floor Restored in Nuneaton

Tar Stained Victorian Tiled Hallway Restored in Nuneaton

The photos below are of a Victorian Tiled Hallway at a property in Nuneaton, the owner of the property had decided the carpet was past its best and having removed it was pleased to find an original Victorian tiled floor underneath.
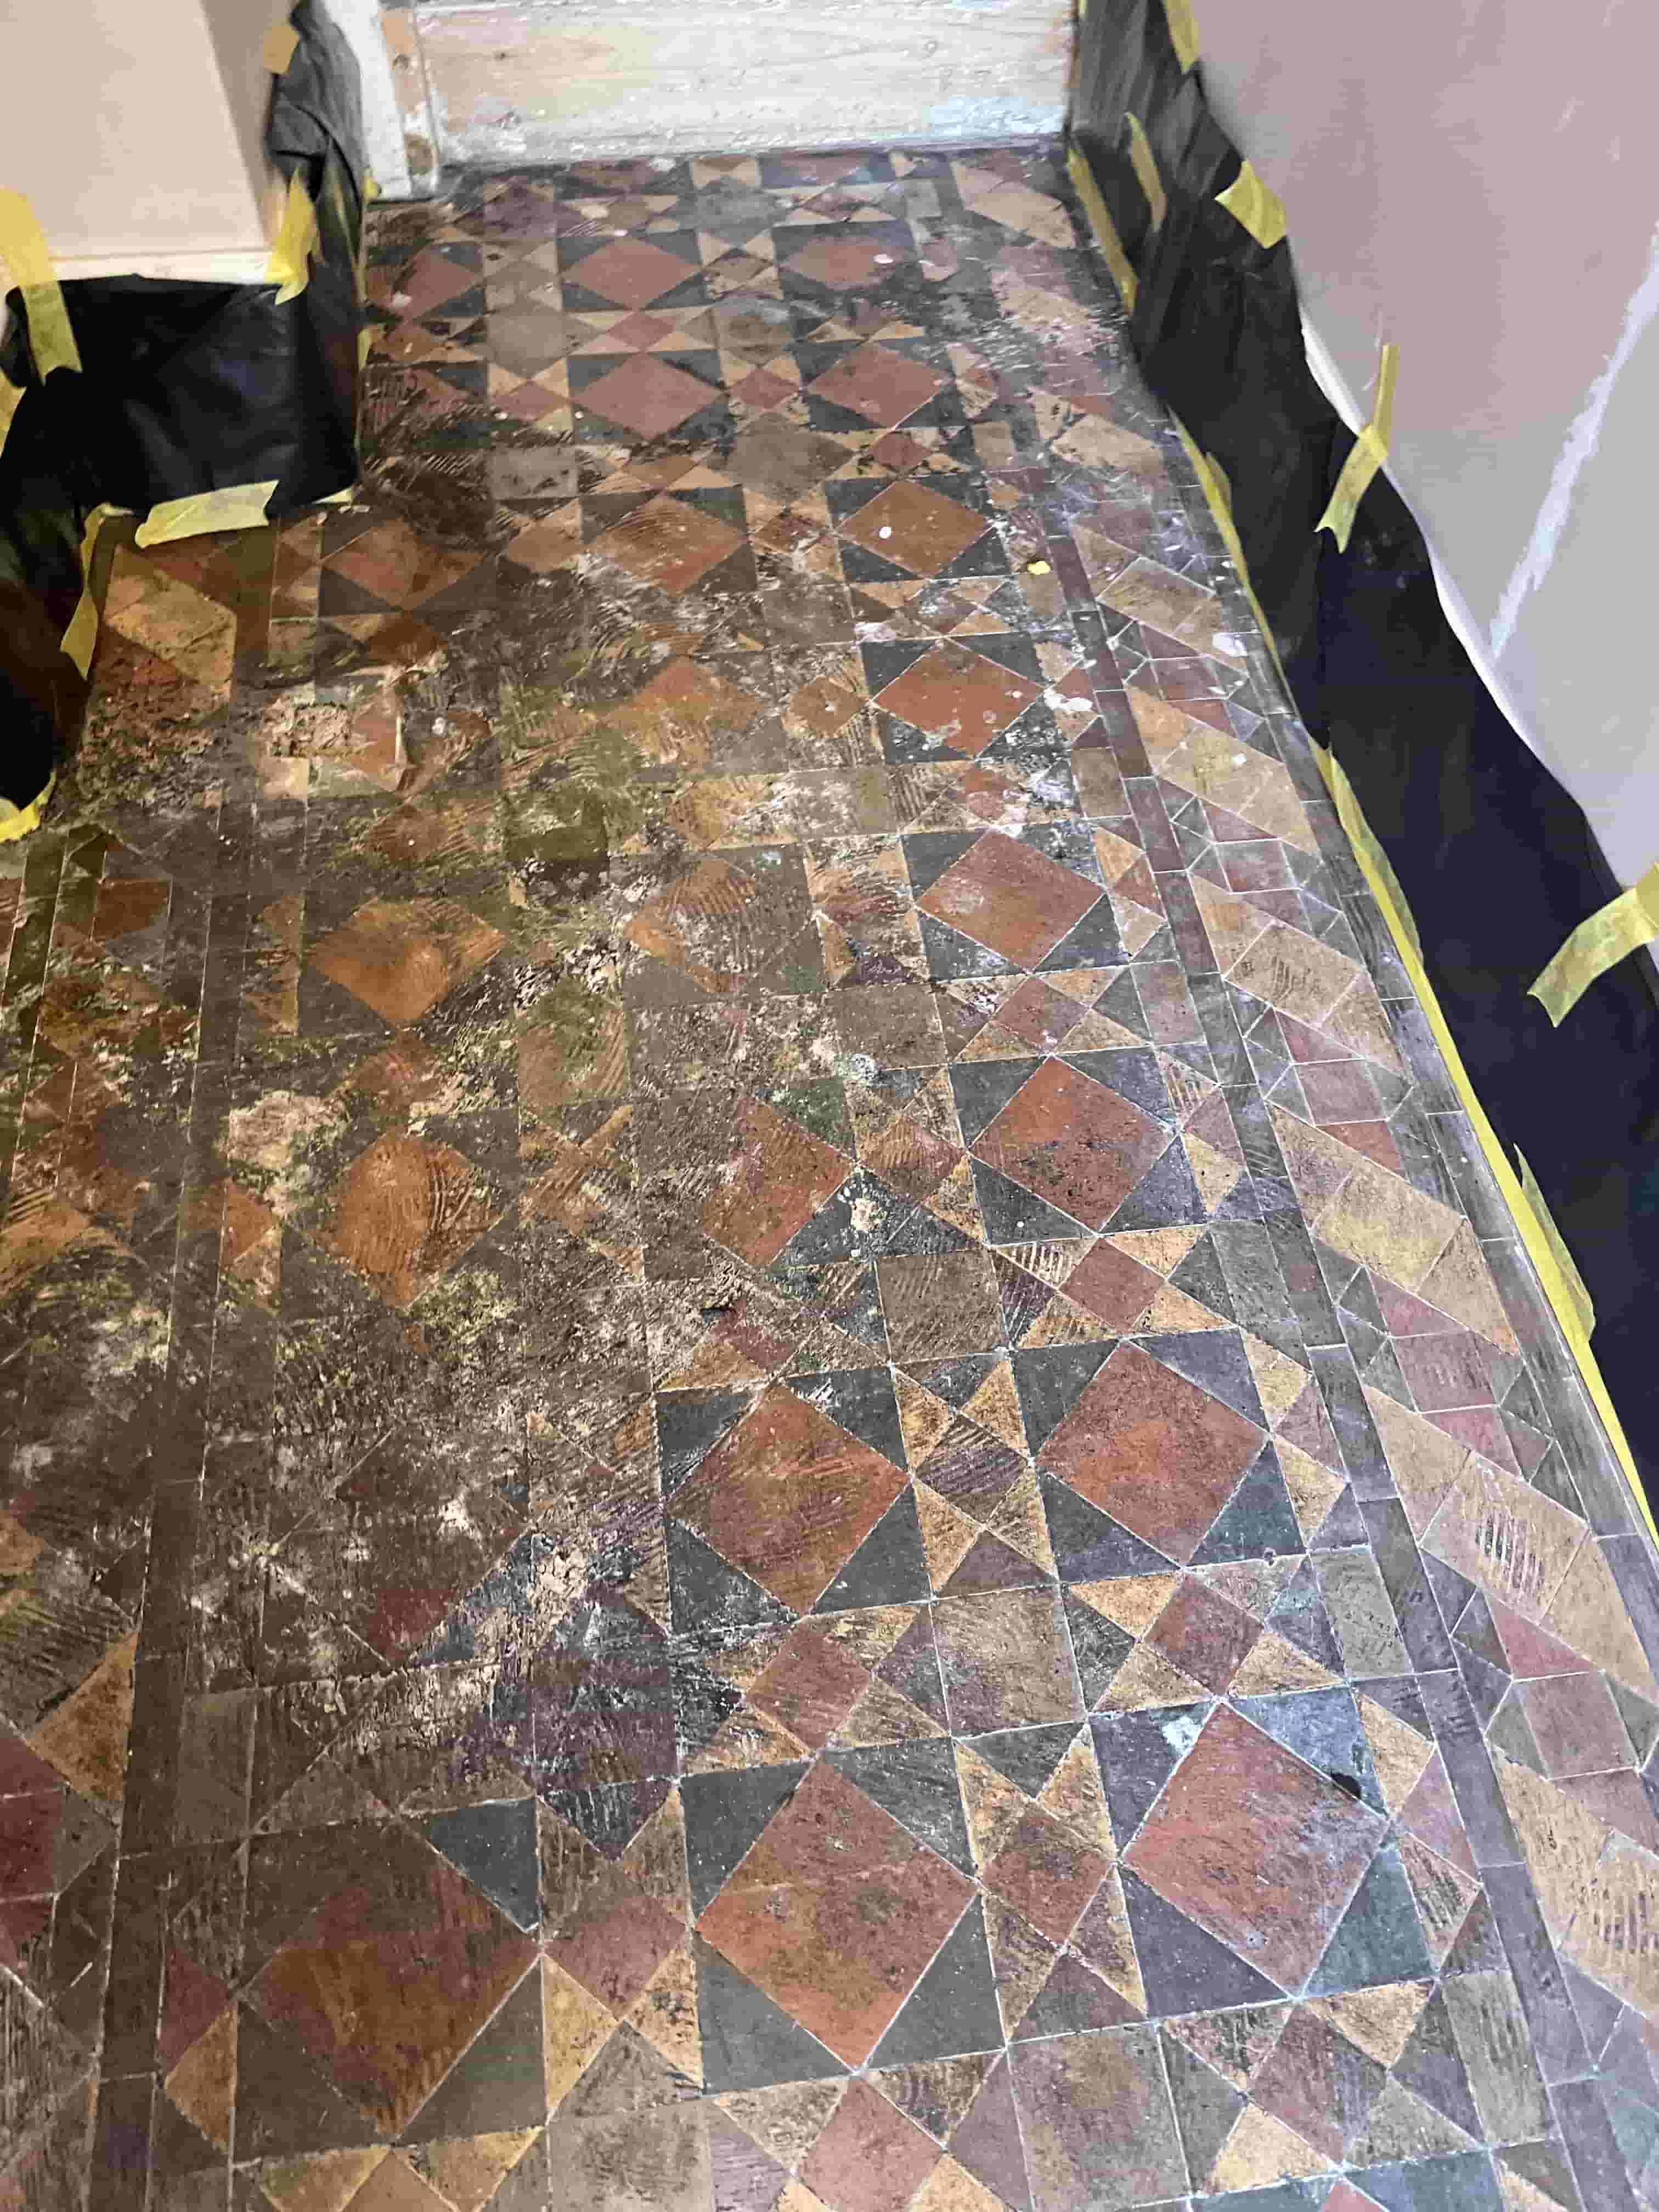
Tar-Covered Victorian Floor Before Restoration Nuneaton Tar-Covered Victorian Floor Before Restoration Nuneaton

However, the tiles were thoroughly stained with Tar of all things and so we were called in to do restore it. Tar and Bitumen are waterproof and were traditionally used to prevent damp from coming up through the floor. Old floors like this one were laid before Damp Proof Courses were invented. The trouble with this approach however is it pushes the damp problem elsewhere such as the walls which can lead to rising damp. The best solution is to let the floor breath so the moisture can evaporate at the surface of the tile.

Another problem with this floor were several loose and broken tiles which would need replacing however the tar staining made it difficult to order replacements as I couldn’t be sure about the colours and how many to order.

Cleaning and Repairing a Dirty and Damaged Victorian Tiled Floor

Deep cleaning the Victorian tiles was very hard work and had to try different combinations of solvents to remove the tar and deep clean the floor. I started with Tile Doctor Remove and Go combined with Nanotech HBU and leaving it to soak in for fifteen minutes before working it in with a coarse diamond encrusted burnishing pad. I had to use several burnishing pads of different grits to get the Tar off the tiles and they were clogged with Tar once completed. I had to work in stages and all the soil generated was extracted with a wet vacuum.

To keep the moisture levels of the floor low I followed up with an application of Tile Doctor Oxy-Gel which being a Gel cleaner its very east to manage and only needs a small amount of water to rinse it off with afterwards. The gel was worked into the floor with another burnishing pad and the soiling extracted afterwards with a wet vacuum as before.

The next consideration was a build-up of efflorescence in the pores of the tile, this happens where alkaline salts held in moisture under the floor get left on the surface as unsightly white deposits when it evaporates at the surface. Basic chemistry will tell you that you can counter an alkaline with an acid and to do this I gave the whole floor an acid wash using another Tile Doctor product called Acid Gel which again being a Gel keeps the use of water to a minimum.

By the end of the first day the old tiles were clean and I was able to work out how many tiles I would need and of course what colour I would need. The restoration project was therefore put on hold until I can source the replacement tiles and install them.

Sealing a Victorian Tiled Floor

With the cracked and broken tiles replaced I was able to return and apply a fresh sealer that would protect the floor from staining and merge the appearance of the old and new tiles together and make it easier for the property owner to keep the tiles clean going forward.

I knew from the history of this floor I would need a fully breathable sealer that could cope with potential damp that could still be trapped under the floor. The carpet has only been removed a few ago so I applied Tile Doctor X-Tra seal which can be used internally and externally. It leaves a matt finish but was the ideal product for a floor like this one.

Tar-Covered Victorian Floor After Restoration Nuneaton Tar-Covered Victorian Floor After Restoration Nuneaton

For aftercare I advised the owner to use Tile Doctor Neutral Clean, it’s an effective day to day tile cleaning product which is gentle enough that it can be used regularly on a sealed tile floor. You do have to be careful with supermarket cleaners as many contain bleach which can strip the sealer off a tiled floor leaving it vulnerable.


Professional Restoration of a Stained Victorian Tiled Floor in Warwickshire

Tar Stained Victorian Tiled Hallway Restored in Nuneaton Read More »

Victorian Craven Dunnill Floor Renovation Stoke Golding Nuneaton

Craven Dunnill Floor Restoration in Stoke Golding Nuneaton

The Victorian Floor was in Stoke Golding a small village near Nuneaton Warwickshire. Some years ago, the client had decided to tile over the original Victorian geometric tiled floor with a modern tile. Back to the present day and their tastes had changed and so they decided they preferred the classic look after all and wanted the old floor restored. The process of removing the modern tiles however caused quite a bit of damage to the old floor and in the process managed to damage a large section of the sub floor.

Victorian Hallway Before Craven Dunnill Tile Rebuild Stoke Golding Nuneaton

After surveying the floor, I could see that as well as the obvious, the floor had dropped by the door to the lounge so this would need repairing and the tiles by the kitchen door had been removed and would also need replacing. Happy for me to do the work I worked out how many replacement tiles would be needed to renovate the floor. The tiles were then ordered from Craven Dunnill who have been in operation since 1872 and still make the same tiles to this day.

Victorian Hallway Before Craven Dunnill Tile Rebuild Stoke Golding Nuneaton

Cleaning and Repairing a Craven Dunnill Victorian Tiled Hallway Floor

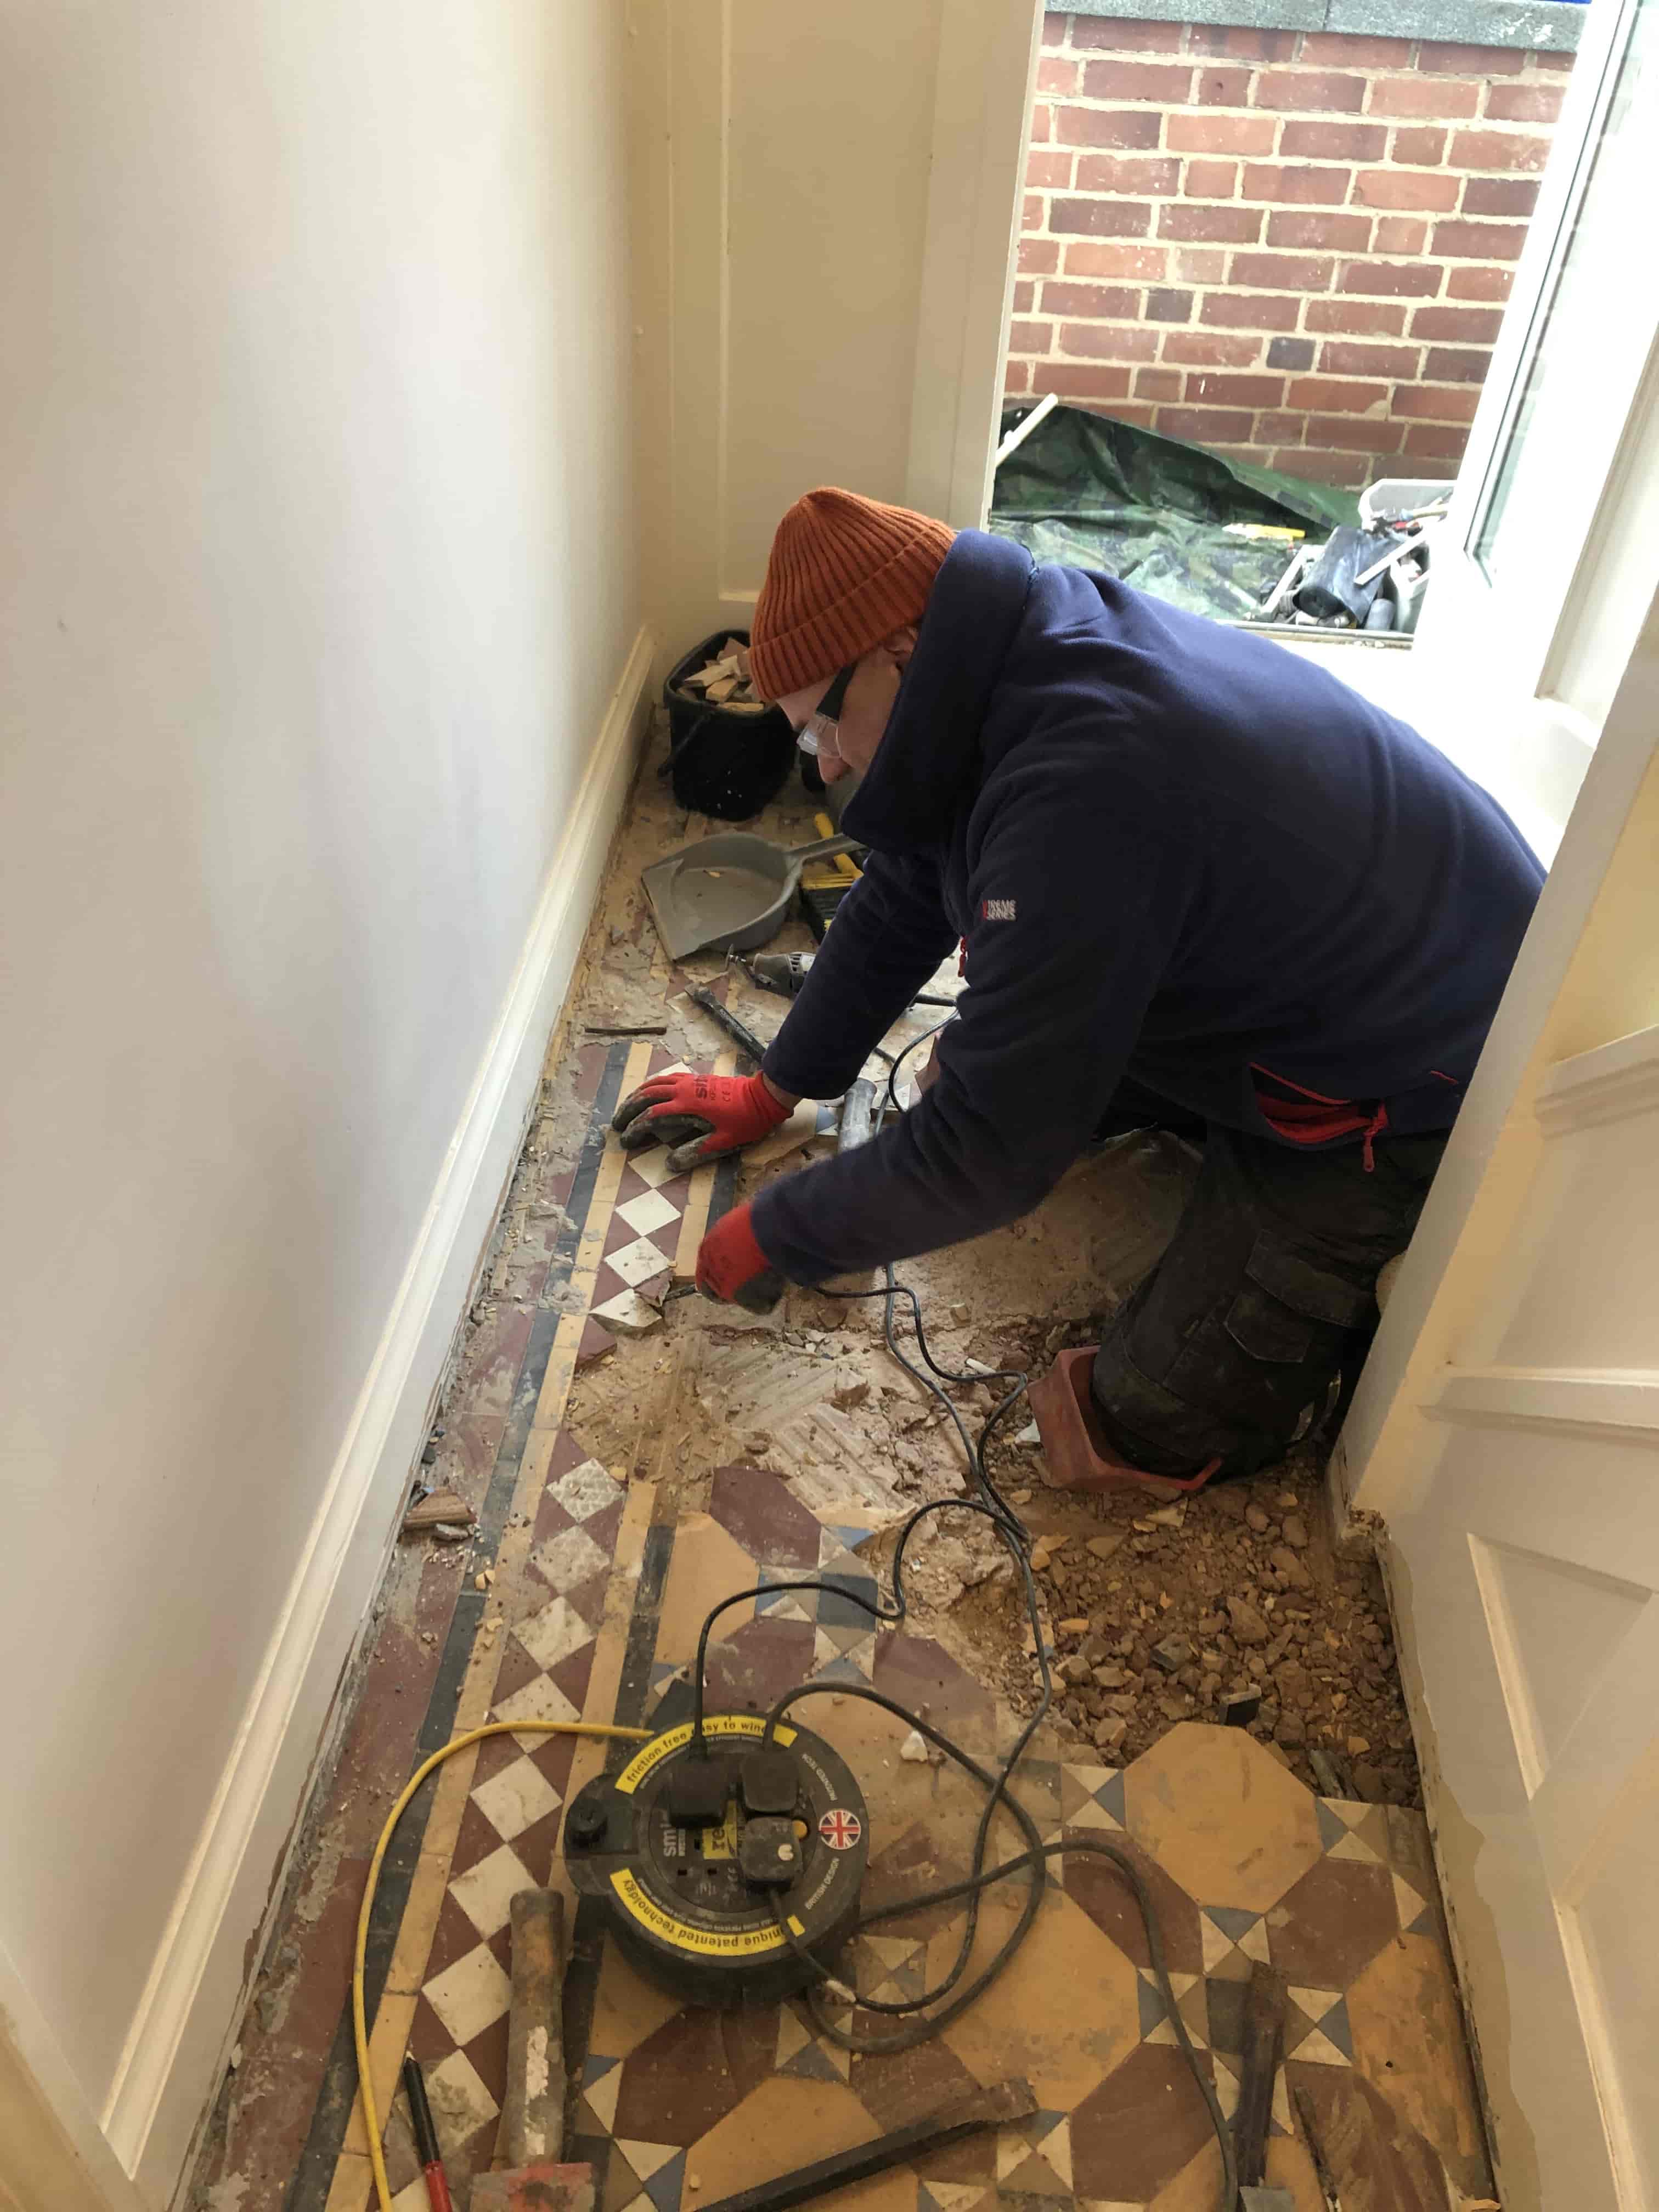
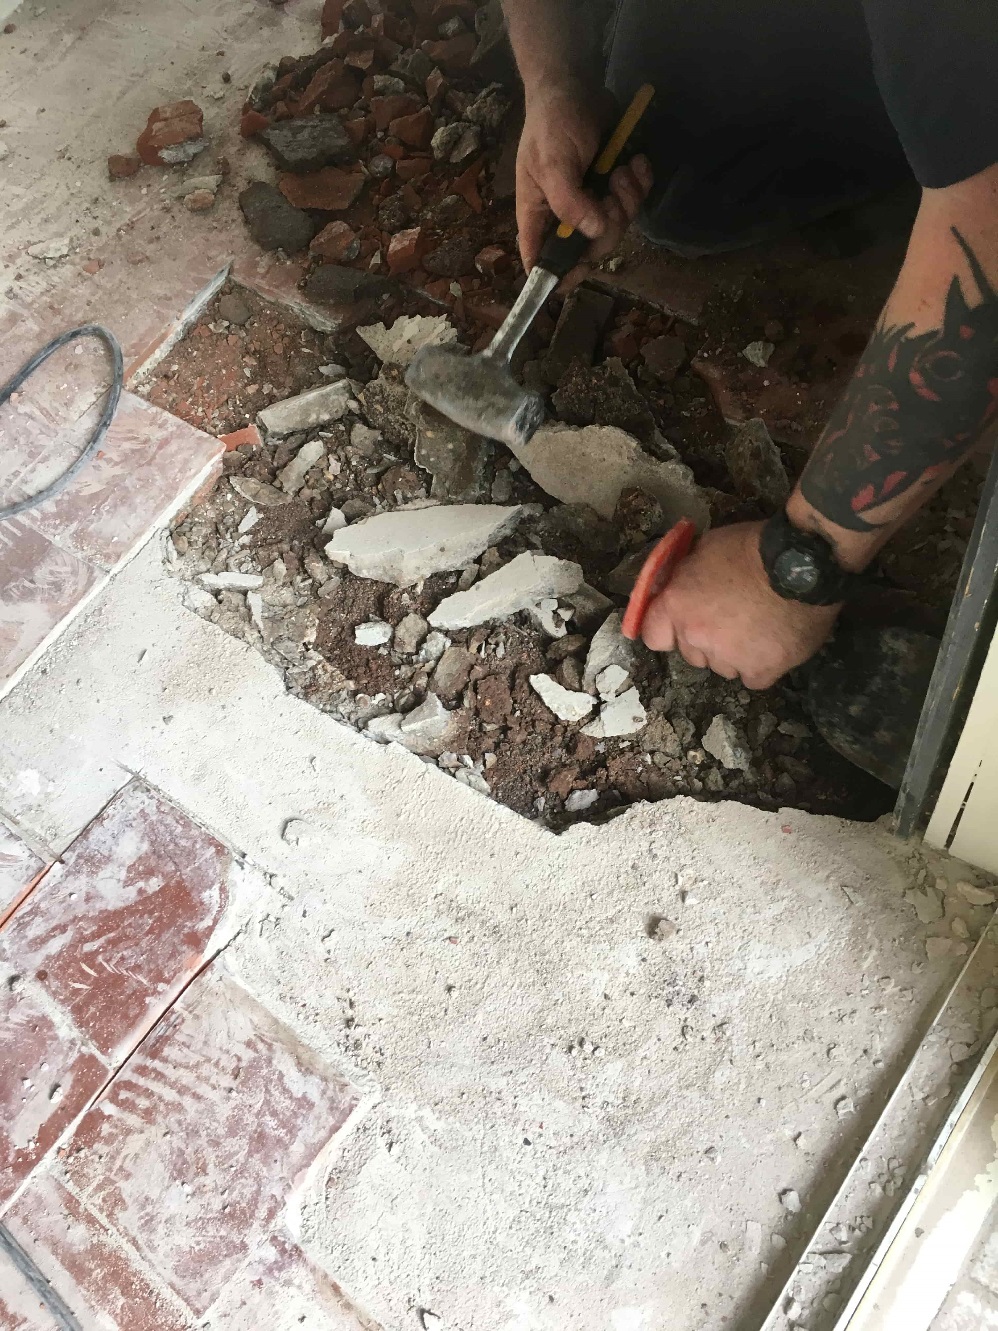
The first day on the job involved removing tiles and screed from the damaged sections, cleaning up the rubble as I went. The now exposed subfloor was built up to the right height by adding self-levelling screed which was left to set before more work could be done. Once the new screed had set the replacement tiles were cut and laid using a flexible adhesive. The damaged tiles in the floor where also removed and replaced where needed.

Victorian Hallway During Craven Dunnill Tile Rebuild Stoke Golding Nuneaton Victorian Hallway During Craven Dunnill Tile Rebuild Stoke Golding Nuneaton

The next step involved deep cleaning the whole hallway floor, first using Tile Doctor Remove and Go and then followed up with Tile Doctor Acid Gel using 200 and 400-Grit burnishing pads to really get the tiles clean and bright again. I hand finished the corners and edges with handheld burnishing blocks of different grades and then left the floor to dry overnight.

Sealing a Craven Dunnill Victorian Tiled Hallway Floor

The next morning, I inspected the floor to check it was clean and dry however, it also revealed a few more cracked tiles that were not obvious the day before. These were removed and replaced as before.

The floor was then pre-sealed using a coat of Tile Doctor Colour Grow which is an impregnating sealer followed up with a few coats of Tile Doctor Seal and Go Extra. The combination of the two sealers brings out the colours in the tiles whilst providing hard wearing protection that will keep the dirt out of the tiles. Both sealers are breathable which is an important consideration when sealing old floors like this one which don’t usually have a damp proof membrane.

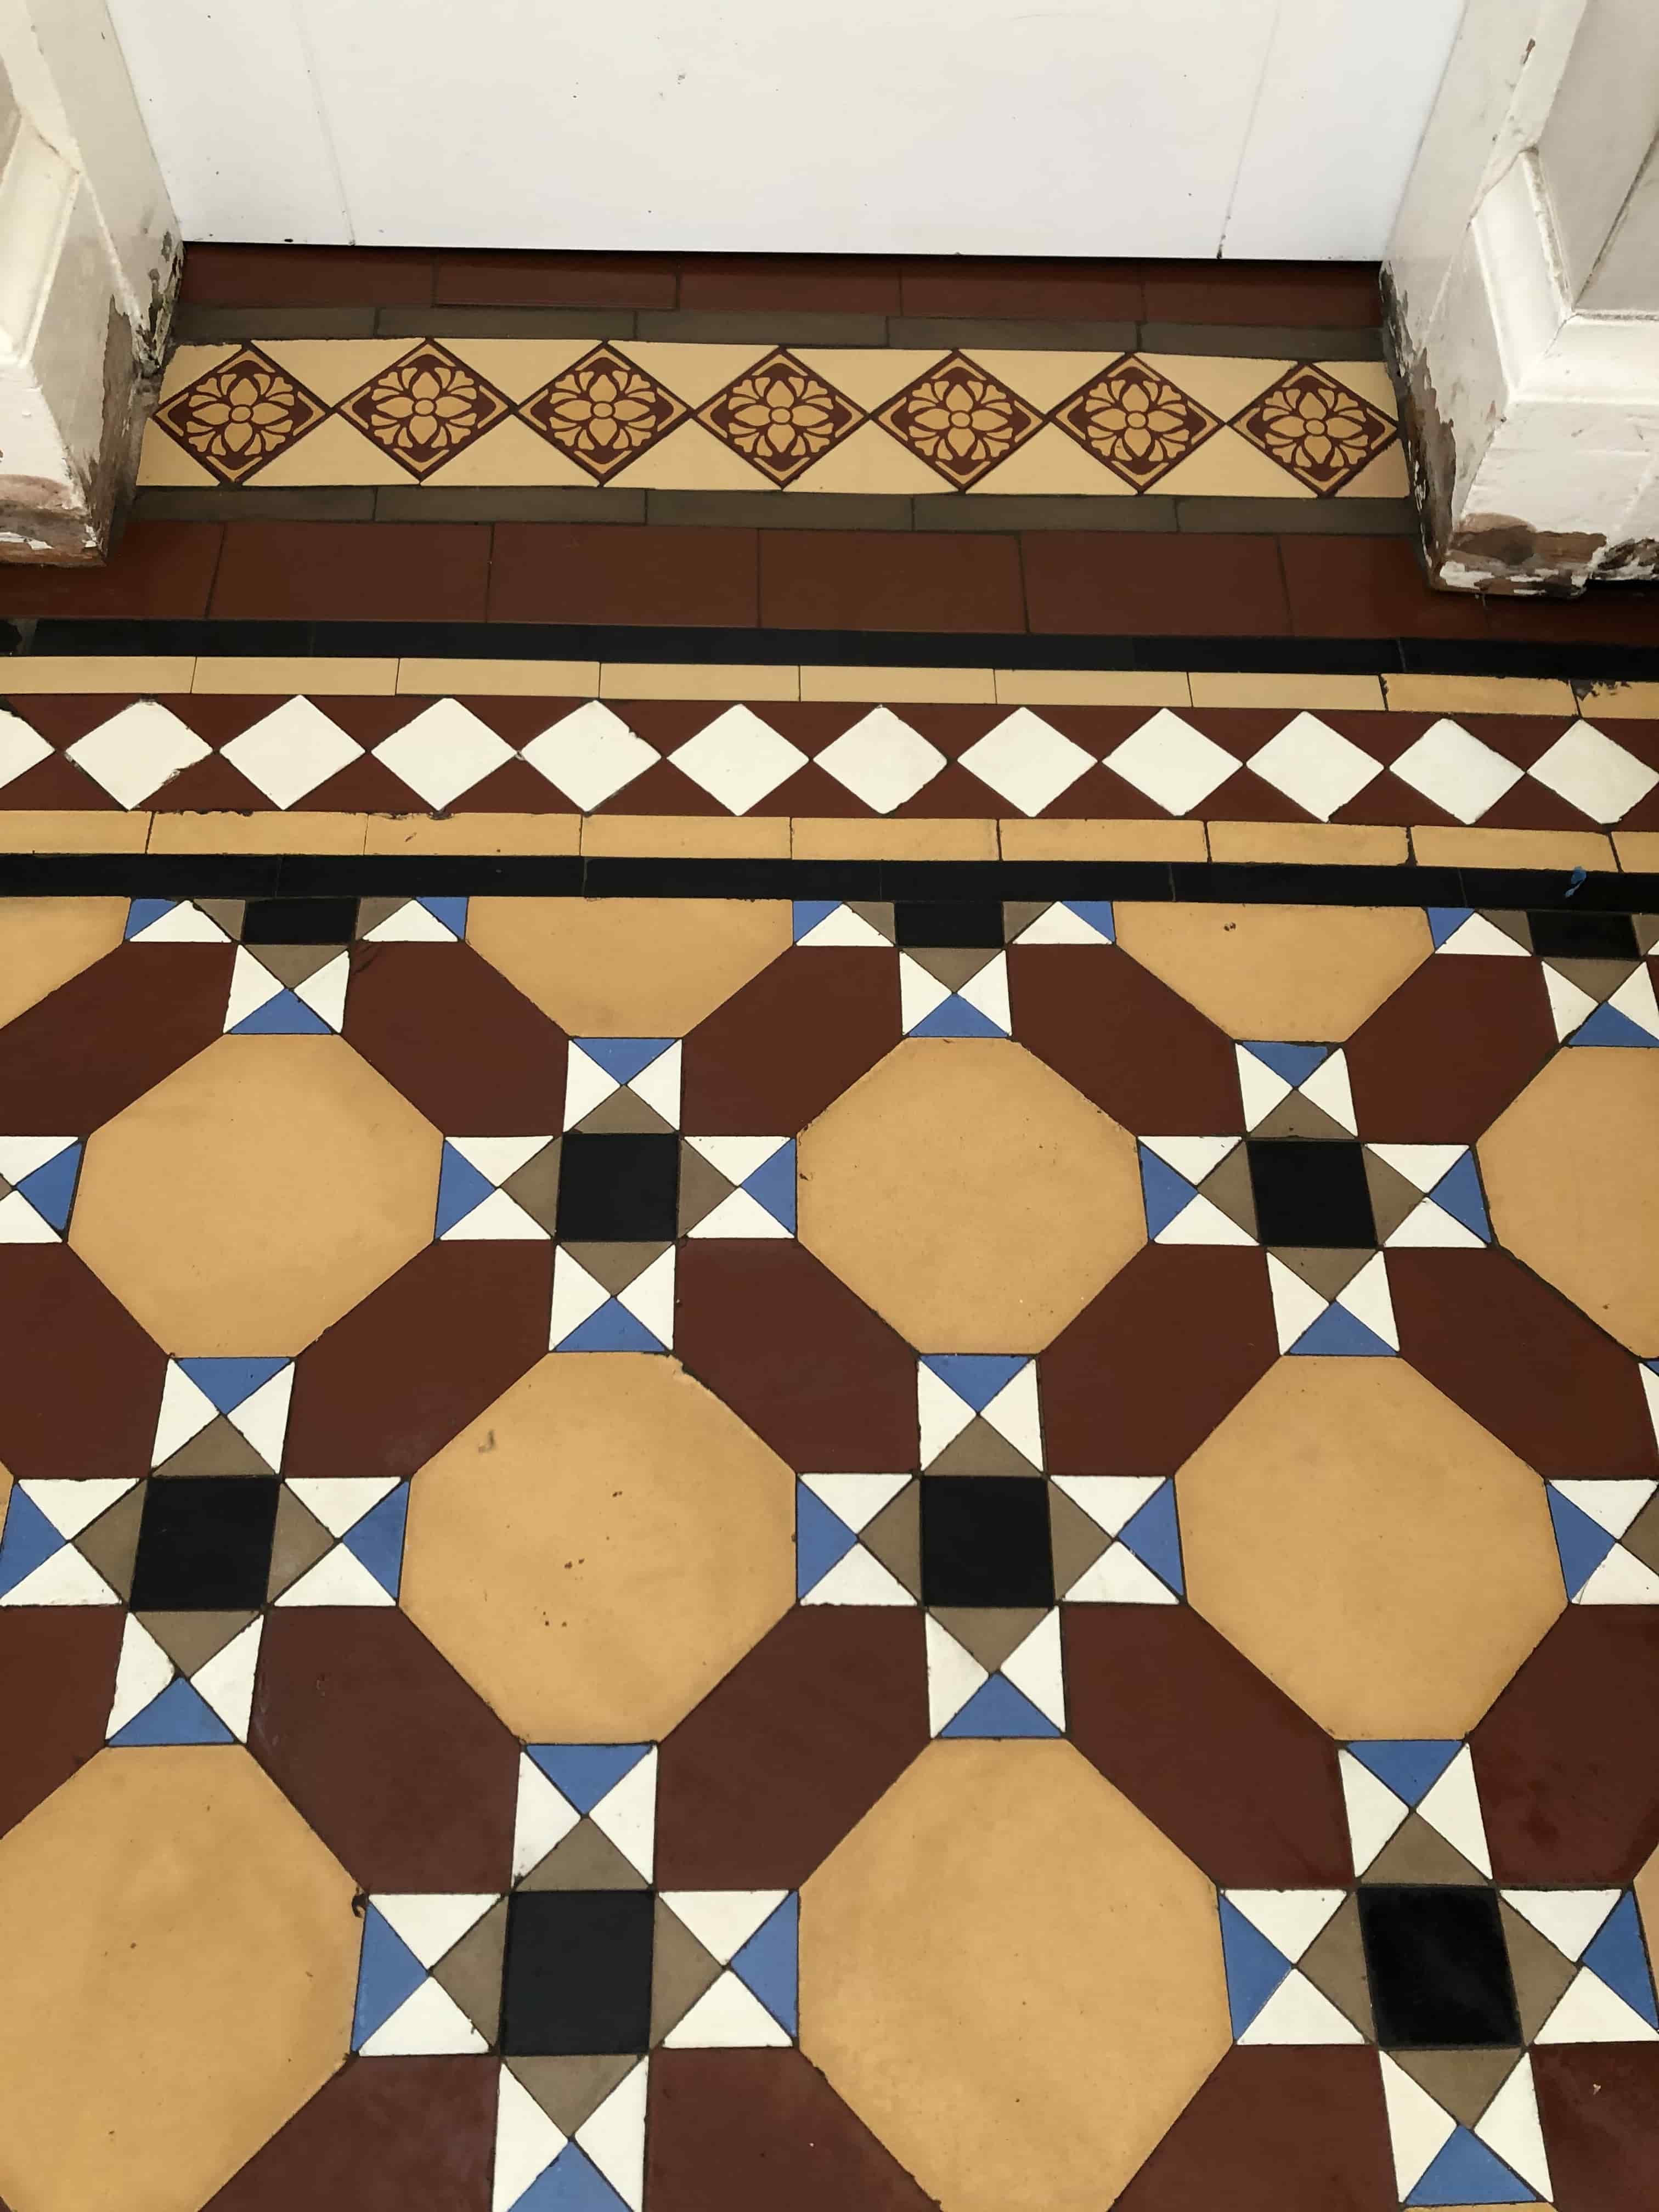
Victorian Hallway After Craven Dunnill Tile Rebuild Stoke Golding Nuneaton Victorian Hallway After Craven Dunnill Tile Rebuild Stoke Golding Nuneaton

Due to the amount of tiling work needed that job was completed over a two-week period however the floor looked amazing when finished and well worth the effort. Given the history of the floor I’m sure the fully restored floor will add a lot of value to the property, certainly my client was very happy with the finish.

Victorian Hallway After Craven Dunnill Tile Rebuild Stoke Golding Nuneaton


Professional Craven Dunnill Victorian Hallway Restoration in Warwickshire

Craven Dunnill Floor Restoration in Stoke Golding Nuneaton Read More »

Quarry Tiled Floor Before and After Restoration Nuneaton

Screed Covered 100-Year-Old Quarry Tiled Floor Restored in Nuneaton

I took the photographs below at an old 1920’s house in Nuneaton where the owner was interested in restoring the original Quarry tiled floor in their Kitchen. Interestingly Nuneaton has a rich manufacturing history that included brick and tile making so it’s entirely possible these tiles were made locally at the Haunchwood Brick and Tile company.

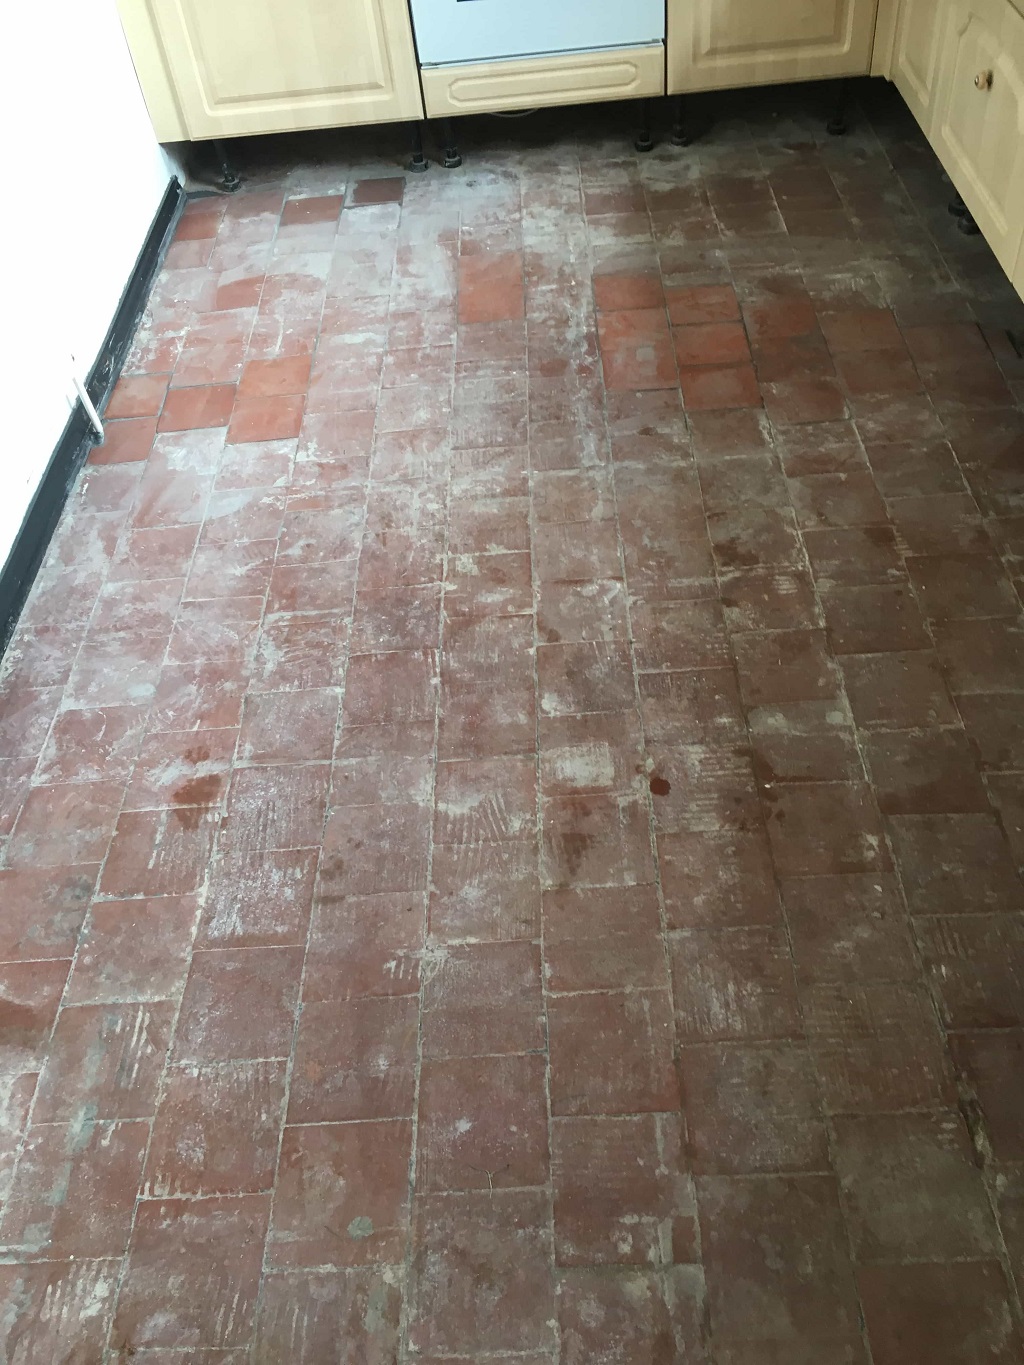
Tastes change over the years and at some point in the past the Quarry tiles had been covered with a levelling compound so that linoleum could be installed on top. This meant that the first part of the job would be to remove the screed before I could clean up the tiles. On top of that It was clear as well that many of the tiles were damaged and would need replacing.

Quarry Tiled Floor Before Restoration Nuneaton
I worked out a quote which was agreed by the customer and started looking around for matching replacement tiles, fortunately I was able to track some down at Warwick Reclamation who stock thousands of quarry tiles in many of the common period sizes.

Restoring an Original Quarry Tiled Kitchen Floor

On day one I set about carefully removing the screed with a hammer and chisel and also the damaged tiles, so they could be replaced. With the tiles removed we it was clear some parts of the subfloor were cracked and needed to be rebuild with fresh cement.

Quarry Tiled Floor During Restoration Nuneaton Quarry Tiled Floor During Restoration Nuneaton

Once the floor was ready the replacement Quarry tiles were fixed in place and once the adhesive was dry they were grouted in.

To remove the remaining screed and salt damage from the surface of the tiles I used a set of coarse milling pads which are applied with water for lubrication. The process generates a lot of soil, so the floor needs to be rinsed with water and the soil extracted with a wet vacuum after each pad.

The next step was to pre-treat the tiles with Tile Doctor Remove and Go in order to remove old contaminants such as old oils and then treat the floor to a deep clean with Tile Doctor Pro-Clean which was scrubbed in with black scrubbing pad.

Old floors like these don’t have a damp proof membrane so the last step in the restoration process was to counter any inherent salt issues in the floor that might reappear later as white efflorescence salt deposits. This is done by giving the floor an acid rinse using Tile Doctor Grout Clean-up which is scrubbed into the tiles, neutralising the salts, this product also removes old mineral deposits and grout smears.

The floor was given a final rinse with water to remove any traces of products used and then as much water and moisture as possible was extracted using a wet vacuum. The floor was then left to dry out for a few days.

Sealing a Quarry tiled floor

When I returned my first job was to take multiple readings around the floor using a damp meter to verify the floor was dry and ready for sealing. The extra drying time had done the trick and I was able to seal the floor using multiple coats of Tile Doctor Seal and Go Extra which is a fully breathable sealer that can cope with any potential moisture problems, it also leaves a nice sheen finish that brings the best out of Quarry tiles.

Quarry Tiled Floor During Restoration Nuneaton Quarry Tiled Floor During Restoration Nuneaton

In total the restoration took 4 days to complete and had completely restored the Quarry tiled floor close to what they must have looked like back when they were installed nearly a hundred years ago.

Quarry tiles tiled floor restored in Warwickshire

Screed Covered 100-Year-Old Quarry Tiled Floor Restored in Nuneaton Read More »

Limestone Patio After Cleaning Nuneaton

Limestone Patio Tiles Deep Cleaned in Nuneaton

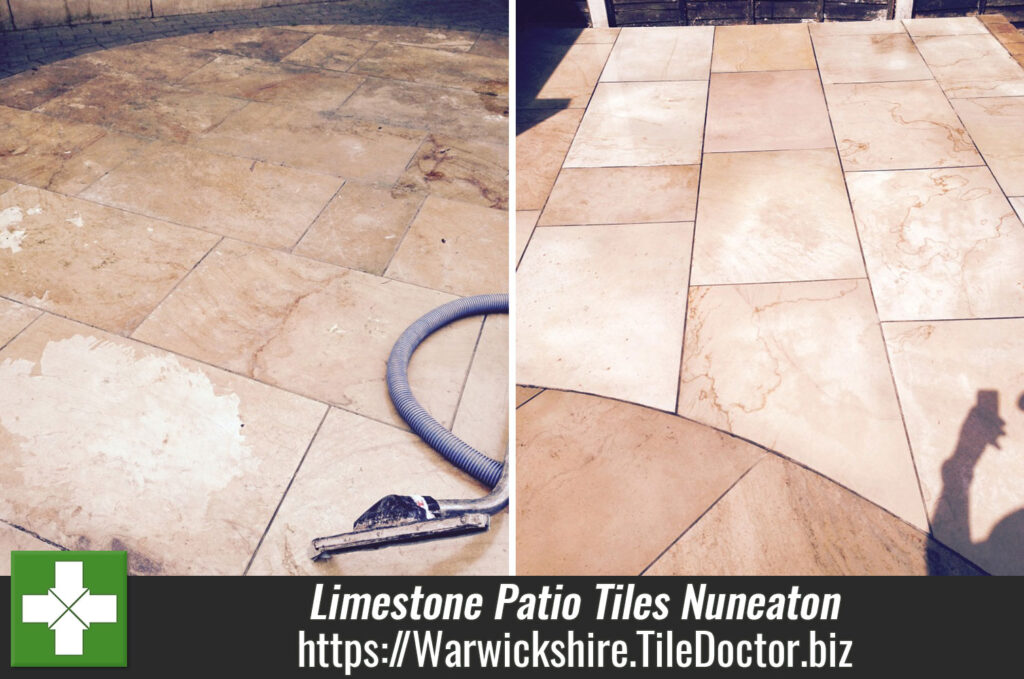
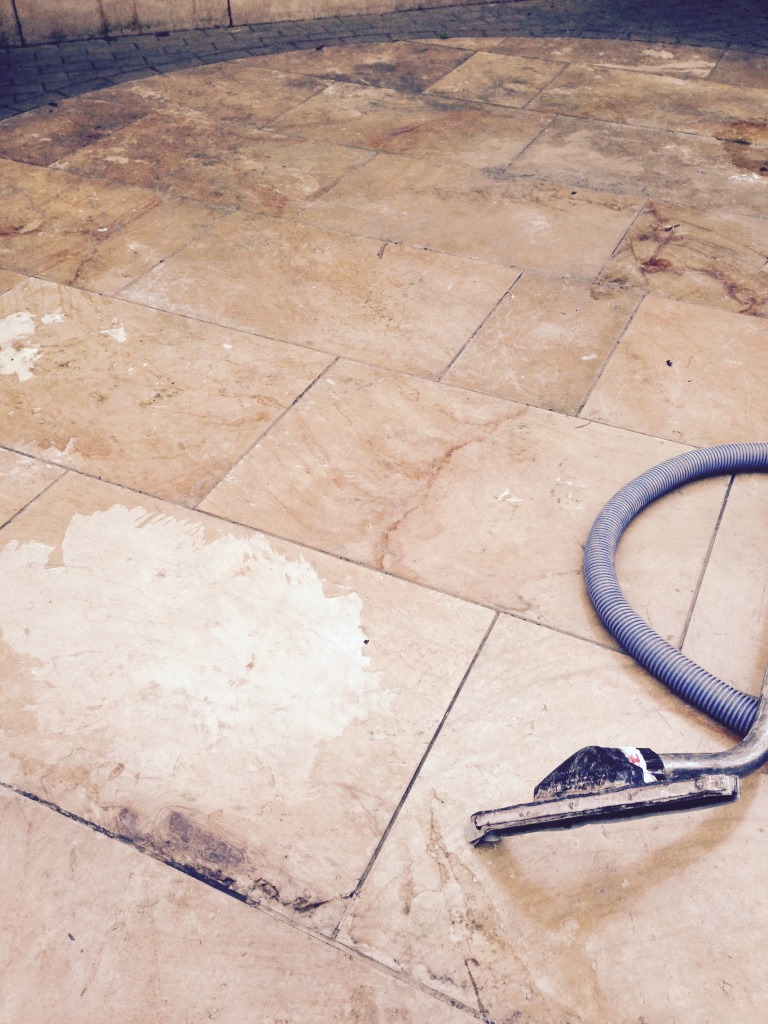
This beautiful Limestone patio had been installed in the back garden of a house in Nuneaton and then covered with some form of acrylic coating to protect it. Unfortunately the coating wasn’t able to defend against the ravages of the UK weather and had become loose leaving the Limestone exposed to the elements where it soon became very grimy.

Limestone Patio Before Cleaning Nuneaton

Stripping acrylic coatings from Limestone tiles

The acrylic coating had to be removed which was done using a combination of manual scraping using a fine blade and then with a 1:4 dilution of Tile Doctor Pro-Clean was mopped onto the tiles and left for ten minutes to dwell before being scrubbed with a buffing machine fitted with a black pad. This process brought out the dirt that had become ingrained into the stone, there were some stubborn areas and these were treated with Tile Doctor Remove and Gof which is a stronger product. The resultant slurry was removed using a wet vacuum and the patio left to dry overnight.

Limestone Patio During Cleaning Nuneaton Limestone Patio During Cleaning Nuneaton

Sealing a Limestone patio

I came back the second day to seal the patio checking first that it was suitably dry. Two coats of Tile Doctor Colour Grow were applied which is a colour enhancing impregnating sealer that can be used internally and externally, it works really on Limestone and did well to bring out the natural colours in the stone.

Limestone Patio After Cleaning Nuneaton Limestone Patio After Cleaning Nuneaton


Stone patio stripped, cleaned and sealed in Warwickshire

Limestone Patio Tiles Deep Cleaned in Nuneaton Read More »
=================================

Warwickshire Tile Doctor

================================= Read More »

Scroll to Top